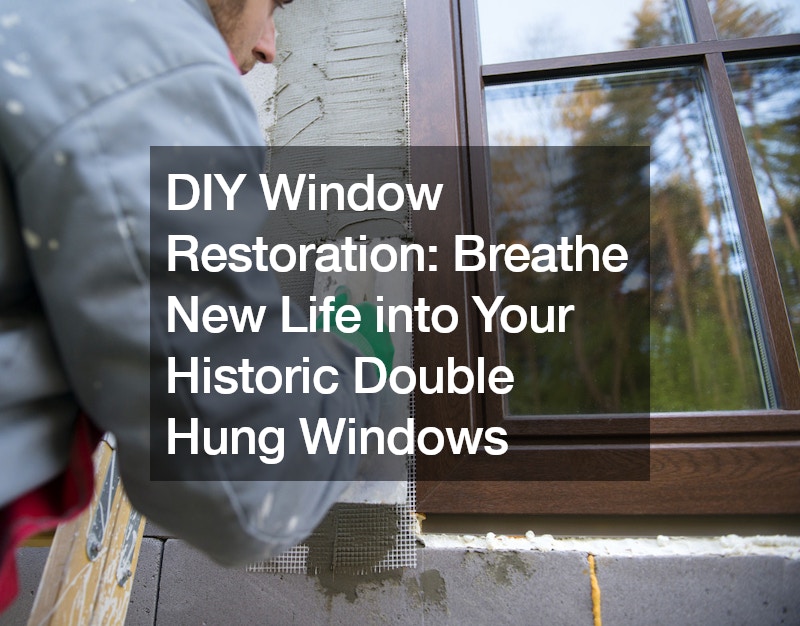

The charm and character of historic double hung windows are undeniable. These vertically-sliding sashes not only offer a glimpse into the past but also provide excellent ventilation. However, years of wear and tear can leave them looking worse for wear and functioning poorly. Replacing them entirely can be a costly endeavor, not to mention a potential historical renovation faux pas. But before you despair, consider the rewarding option of DIY window restoration.
Why Restore Your Double Hung Windows?
There are numerous advantages to restoring your historic double hung windows. First and foremost, it’s a cost-effective alternative to complete window replacement. Second, proper restoration preserves the original character and craftsmanship of your home, potentially increasing its value. Third, restored windows can improve energy efficiency by ensuring a tight seal and reducing drafts. Finally, the satisfaction of restoring a piece of history yourself is an unparalleled accomplishment.
Is DIY Window Restoration Right for You?
While DIY window restoration is achievable for most homeowners with a basic understanding of carpentry, it’s important to assess your comfort level and the project’s complexity. For windows with minor issues like sticking sashes or peeling paint, DIY restoration is a viable option. However, if your windows have extensive wood rot, broken glass, or require specialized hardware replacement, consulting with sash window specialists may be the wiser choice.
Getting Started with DIY Window Restoration
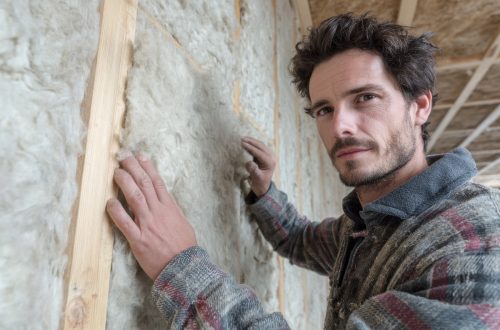
The first step in restoring your double hung windows is to gather the necessary tools and materials. This includes safety gear like gloves and eye protection, a putty knife, a pry bar, a hammer, a screwdriver, a paint scraper, a level, and a vacuum cleaner. Additionally, you’ll need replacement glazing putty, sash cord, and appropriate paint.
Removing the Sashes
Once you’re equipped, begin by prepping the work area. Lay down drop cloths to protect your floors from paint chips and debris. Carefully score the paint line around the interior stops (the trim pieces holding the sashes in place) to prevent paint chipping when prying them off. Use a putty knife or pry bar to gently remove the stops, taking care not to damage the surrounding wood.
With the stops removed, you can tackle the sashes themselves. The bottom sash typically lifts out first. If it’s stuck, use a pry bar to gently coax it loose, working from side to side to avoid damaging the frame. The top sash may require removing the parting bead (the thin piece of wood separating the sashes) first. This might involve using a pry bar or a utility knife to carefully cut through any paint buildup.
Restoring the Sashes
Once the sashes are removed, lay them flat on a protected surface. Begin by scraping off any loose paint and debris with your paint scraper. For a thorough restoration, you may choose to completely strip the paint and reseal the wood. Alternatively, a light sanding and fresh coat of paint can breathe new life into the sashes.
Restoring the Weight Pockets
The weight pockets, located on either side of the window frame, house weights that counterbalance the sashes, allowing them to move smoothly. Access these pockets by removing any screws or nails holding them shut. Inside, you’ll find the sash cords connected to weights. Inspect the cords for fraying or breakage. If they need replacing, measure the existing cords for reference and purchase new ones.
Reassembling the Window
Once the sashes and weight pockets are restored, it’s time for reassembly. Begin by threading the new sash cords through the pulleys located within the weight pockets. Tie the cords securely to the weights, ensuring they hang freely. Carefully guide the top sash back into the frame, aligning it with the grooves. Reinstall the parting bead if necessary.
Next, reinstall the bottom sash, ensuring the ropes fit snugly into the designated slots. Replace the interior stops, hammering them back into place while maintaining a slight gap between the stop and the sash for smooth operation.
Finishing Touches
With the window reassembled, test the functionality of the sashes. They should move up and down smoothly without sticking. If necessary, make minor adjustments to the sash alignment or weight tension. Finally, apply a fresh coat of paint to the window frame and sashes, following the manufacturer’s instructions for drying times and multiple coats.
Tips for Success
Here are some additional tips to ensure a successful DIY window restoration project:
- Take your time: Don’t rush the process. Careful and meticulous work will yield better results.
- Label everything: As you remove components like stops and weights, label them carefully to ensure proper reassembly.
- Work methodically: Focus on restoring one window at a time to avoid confusion.
- Consult sash window specialists for complex repairs: While DIY restoration is a great option for many, some situations call for professional help. If you encounter extensive wood rot, broken or cracked glass, or difficulty sourcing replacement hardware, don’t hesitate to consult with sash window specialists. These professionals possess the expertise and tools to handle complex repairs while ensuring the windows retain their historical integrity.
Beyond Restoration: Maintenance Tips
Once your windows are restored to their former glory, proper maintenance is key to ensuring their longevity. Here are some simple tips:
- Lubricate the sashes: Apply a light coat of silicone lubricant to the tracks where the sashes slide to ensure smooth operation.
- Inspect the paint regularly: Check for chipping or peeling paint and address it promptly to prevent further damage.
- Clean the windows regularly: Use a mild soap solution and a soft cloth to remove dirt and grime buildup.
By following these tips, you can enjoy the beauty and functionality of your restored double hung windows for years to come. The sense of accomplishment in reviving a piece of architectural history is truly unparalleled. So, grab your tools, channel your inner handyman, and breathe new life into your historic windows!
.