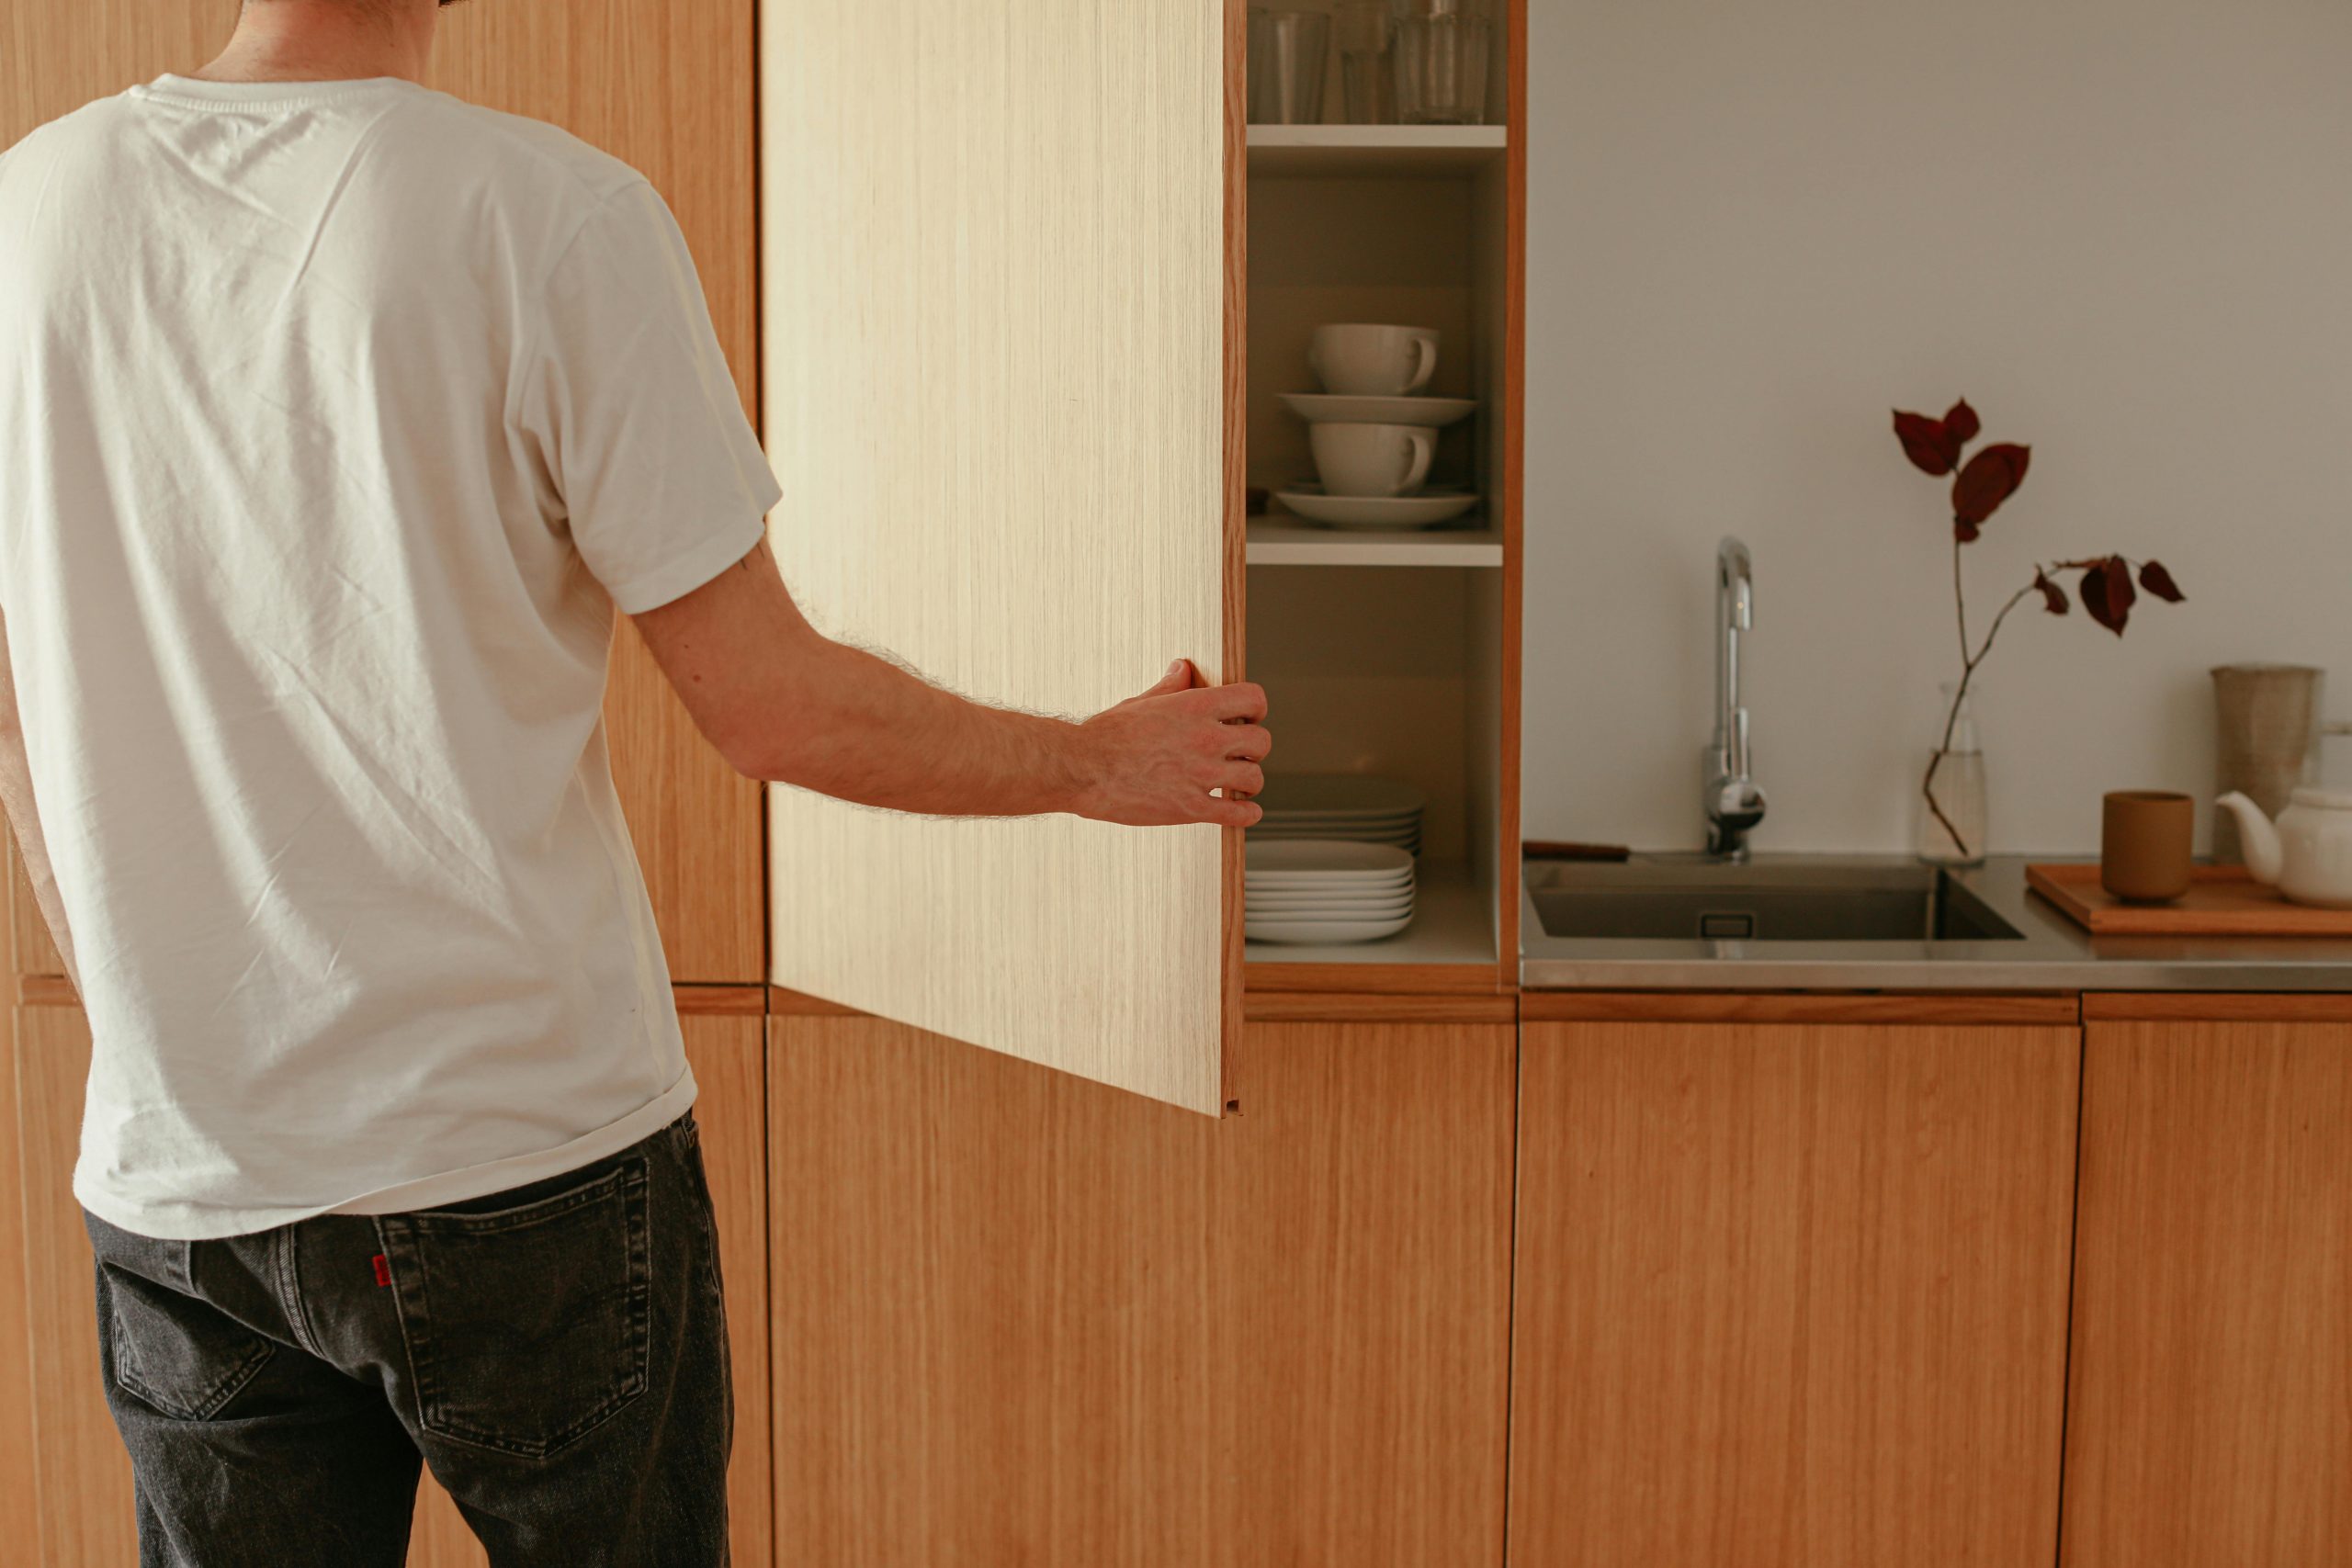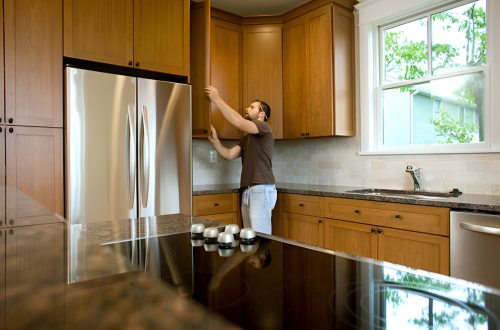
Installing kitchen cabinets yourself might not be the first thing you imagined doing on a weekend—but it’s more doable than you think. You don’t need to be a contractor, and you definitely don’t need to wreck your walls (or your back) trying to figure it out. With some careful prep, the right gear, and a bit of patience, you can tackle this project confidently and come out with a kitchen that looks like a pro did the work.
In this guide, we’re breaking down the step-by-step process to help you install kitchen cabinets the smart way—without cracked drywall, crooked lines, or back pain. Let’s get into it.
Why Bother Installing Cabinets Yourself?
If you’ve already spent a chunk of your renovation budget on appliances or countertops, saving money by installing cabinets yourself can be a smart move. Most pros charge $80 to $190 per cabinet for installation alone. Multiply that by a full kitchen, and you’re looking at thousands.
DIY installation also gives you control over every detail—from positioning to hardware placement—and it’s a great starting point if you’ve ever thought about learning how to build kitchen cabinets yourself down the line. Once you understand how everything goes together, tackling a full build doesn’t seem quite so intimidating.
And with careful planning, it doesn’t have to be a back-breaking or wall-destroying experience.
What You’ll Need Before You Begin

Essential Tools:
- Stud finder
- Tape measure
- Level (4-foot level preferred)
- Pencil
- Drill and bits
- Cabinet jack or support braces
- Screws (3-inch cabinet screws for walls, 2-inch for cabinet-to-cabinet)
- Clamps
- Screwdriver
- Shims
- Ladder or step stool
Optional Helpers:
- A friend or partner (always helpful when lifting)
- Laser level (if you’re going for maximum precision)
- Work gloves and back support belt
How to Install Kitchen Cabinets Like a Pro

Step 1: Start With a Solid Plan
Ask yourself:
- Where are your studs located?
- Do you need to remove old cabinets?
- Are your walls and floors level?
Map everything out first. Use your stud finder to locate wall studs and mark them clearly with a pencil. Cabinets must be anchored into studs—drywall alone won’t hold the weight.
Measure the ceiling height, cabinet height, and how much space you’ll need between base and wall cabinets (typically 18 inches).
Pro tip: If you’re not replacing floors, install base cabinets first. If new floors are being added later, install cabinets after to avoid height mismatches.
Step 2: Prep the Area
Before lifting anything heavy:
- Clear the kitchen of obstructions.
- Lay down drop cloths or cardboard to protect floors.
- Remove outlet covers and switch plates if needed.
- Snap a chalk line to mark where the bottom of your upper cabinets will go. This line helps guide level placement.
To protect your back: Move everything close to where it will be installed so you’re not walking long distances carrying heavy items.
Step 3: Always Begin with Upper Cabinets
This prevents you from leaning over base cabinets while lifting, which is a recipe for back pain.
How to do it without wrecking your walls:
- Locate studs: Use your pencil to mark the stud centers at cabinet height.
- Attach a temporary ledger board: Screw a straight 1×3 or 1×4 into the wall along the bottom line of the upper cabinets. This board supports the cabinets during installation and ensures they stay level.
- Drill pilot holes in cabinets: Pre-drill holes near the top and bottom mounting rails of the cabinet backs.
- Lift and mount: With a helper or a cabinet jack, lift the first cabinet into place and rest it on the ledger board. Align with stud marks.
- Screw into studs: Use 3-inch cabinet screws to attach it through the back rail and into the studs. Don’t overtighten—you may need to adjust later.
- Add next cabinets: Clamp adjacent cabinets together, align their faces, and screw them to each other through the side stiles. Then attach to the wall.
Tip: Heavier cabinets—especially those with full face frames or made in traditional Mission or Shaker styles—may require a second set of hands or a cabinet lift. Their sturdy design looks great but adds a few extra pounds you’ll feel during install.
Step 4: Move on to Base Cabinets
Once uppers are up, it’s time to tackle the lower ones.
Key steps to protect walls and your back:
- Find your high spot: Floors are rarely level. Use a level and mark the highest point on your floor where cabinets will go. Base everything off this point.
- Snap a line: Mark a level line across the wall to show the top edge of the base cabinets.
- Start at the corner: Begin with corner cabinets or ones next to appliances.
- Use shims: Adjust for uneven floors by sliding shims under cabinet corners. This keeps cabinets level and prevents future sagging or damage.
- Secure to studs: Just like with uppers, drill through the back rail and into the studs using cabinet screws.
Avoid dragging cabinets across the floor—lift them instead. If that’s not possible, place a towel or soft pad under them to avoid scuffing both the floor and the cabinet base.
Step 5: Add the Finishing Touches
You’re nearly there, but a few final steps will give your install a polished, pro-level look:
- Install filler strips between cabinets and walls where needed.
- Screw down countertops (if part of your install) carefully to avoid cracking cabinets.
- Reattach electrical plates and touch up any wall dings.
- Install toe kicks and molding to hide gaps at the bottom or top.
Don’t forget to adjust hinges so that doors line up evenly. Most modern hinges allow for vertical, horizontal, and depth adjustment.
Common Mistakes to Avoid
- Lifting without help: No matter how fit you are, lifting cabinets alone is a risky move. Use a buddy system, or rent a cabinet jack if flying solo.
- Ignoring the level: Skewed cabinets look bad and can ruin your countertops. Always check for level and plumb after each cabinet.
- Skipping stud anchors: Drywall anchors won’t cut it for kitchen cabinets. Use only cabinet screws into wood studs.
- Overtightening screws: This can strip the wood or warp your cabinet frames. Snug is enough.
Still on the Fence? When to Hire a Pro
If your kitchen has:
- Sloped floors or bowed walls
- Plumbing or gas lines that must be rerouted
- Tall ceiling cabinets requiring scaffolding
… it might be worth hiring a contractor just for the install. You can still save by buying and assembling cabinets yourself.
Closing Thoughts
Installing kitchen cabinets on your own might seem like a major project, but if you follow the right steps and take your time, it’s absolutely doable. Focus on prep work, lift smart, and don’t skip the level checks.
By the end of the day, you’ll not only have brand-new cabinets—but the satisfaction of knowing you did it yourself without straining your back or punching holes in your drywall.


