
Installing an air conditioning system in your home can provide great comfort, especially during the hotter months. For those inclined to tackle DIY projects, installing an air conditioner can also be a rewarding challenge. However, it’s crucial to understand that installing an air conditioning system involves precise technical work and careful planning. Here’s a step-by-step guide on how to DIY your air conditioning installation.
Step 1: Choose the Right Air Conditioner
The first step is selecting the appropriate air conditioning unit for your space. Consider the size of the area you need to cool, as an undersized unit will be inefficient and an oversized unit can lead to humidity problems.
Consult an HVAC sizing calculator or a professional to determine the right size.
Step 2: Gather Necessary Tools and Materials
You will need a variety of tools and materials, including a drill, screwdriver, level, tape measure, pipe cutter, and possibly a vacuum pump and refrigerant manifold gauge. Also, ensure you have the necessary mounting hardware, which should come with your AC unit.
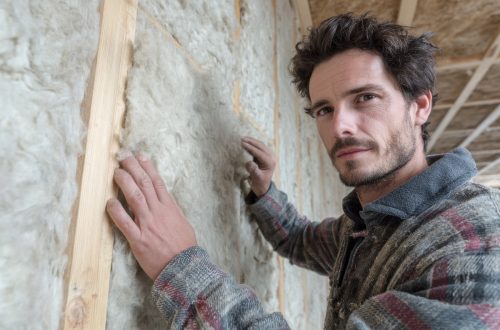
Step 3: Install the Indoor Unit
Choose an appropriate location on your wall for the indoor unit. It should be away from direct sunlight and any heat sources. The area should also allow for proper air circulation and easy connection to the outdoor unit. Install the mounting plate on the interior wall, ensuring it’s perfectly level. Drill holes for the piping, electrical connections, and drainage hose, then mount the indoor unit on the plate.
Step 4: Install the Outdoor Unit
The outdoor unit should be placed on a flat, stable surface. Many opt for a concrete pad or a set of sturdy brackets. Ensure it’s located away from areas with heavy dust or debris. Maintain sufficient clearance around the unit as recommended by the manufacturer for optimal operation.
Step 5: Connect Electrical and Refrigerant Lines
This step should be approached with caution and, ideally, performed by a certified HVAC technician due to the risks involved with handling refrigerant. Connect the refrigerant lines from the indoor unit to the outdoor unit, ensuring all connections are secure and leak-free. Electrical connections also need to comply with local codes.
Step 6: Check Drainage and Insulate Pipes
Ensure that the condensation drain line is properly installed and allows water to flow freely. Additionally, insulate all refrigerant lines to optimize efficiency and minimize condensation.
Step 7: Start-up and Testing
Before starting the unit, it’s imperative to ensure all connections are secure. A vacuum pump may be required to evacuate the system before filling it with refrigerant, based on the manufacturer’s specifications. Once everything is set up, turn the power on and test the unit to ensure it operates correctly.
Watch the video above to learn more about how to DIY your air conditioning installation in Wentzville, MO and other areas! .