Installing a heat pump can be a rewarding DIY project that not only saves you money on professional installation costs but also enhances your understanding of your home’s HVAC system. However, this task requires a good deal of technical knowledge, precision, and adherence to safety standards. Here’s a step-by-step guide to help you through the process:
1. Choose the Right Heat Pump
The first step is selecting the appropriate heat pump for your home. Consider factors like climate, house size, and energy efficiency ratings.
A split system, which has components both inside and outside the home, is common in residential areas. Consult with a professional or do thorough research to find the best unit for your needs.
2. Gather Necessary Tools and Materials
Before you begin, ensure you have all the necessary tools and materials. This includes:
Heat pump unit
Thermostat
Electrical supplies (cable, conduit, circuit breakers)
Mounting pad
Ductwork and fittings (if applicable)
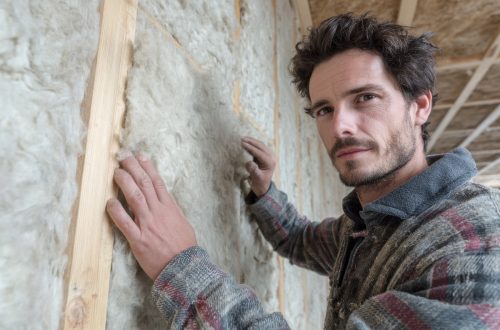
Insulation materials
Refrigerant (check with local regulations on handling)
3. Prepare the Installation Site
Choose a location for both the indoor and outdoor units. The outdoor unit should be placed on a stable, level surface, such as a concrete pad, away from debris and vegetation. Indoors, the unit should be accessible for maintenance and away from living spaces to minimize noise.
4. Install the Indoor Unit
Mount the indoor unit according to the manufacturer’s instructions. Ensure it is securely fastened and level. Connect the ductwork or confirm the alignment and sealing if it’s a ductless system. This step is crucial for efficient air flow and operation.
5. Install the Outdoor Unit
Place the outdoor unit on the prepared pad and secure it. It’s important to maintain proper spacing from the wall to ensure adequate air circulation, which is vital for the efficiency of the heat pump.
6. Connect Refrigerant Lines
Connecting the refrigerant lines is one of the most critical steps. This must be done with precision to avoid leaks, which can be hazardous and reduce the efficiency of your system. You may need to hire a certified technician for this step, as handling refrigerant typically requires professional certification.
7. Electrical Connections
Make all necessary electrical connections between the indoor and outdoor units. This includes running power cables and installing a dedicated circuit breaker. If you are not experienced with electrical work, it’s advisable to hire an electrician to ensure safety and compliance with local electrical codes.
8. Test the System
Once everything is connected and secured, test the system to ensure it operates correctly. Check for any leaks, unusual noises, or inefficiencies. If you encounter any issues, review your installation steps or consult with a professional.
Watch the video above to learn more about DIY heat pump installation in Denver, CO and other areas! .