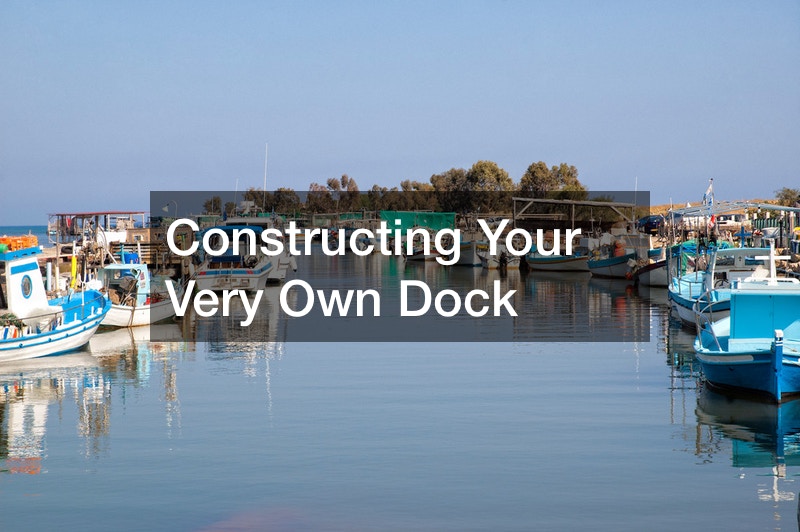
Adding a floating dock to the outside of your house can contribute that extra touch, making your house feel like home. It also adds easy access to your nearby pond or lake for fishing and other water activities.
Dock building can become relatively easy, especially when following Dock Edges’ step-by-step guide. When starting, make sure to find a wide, level spot where you can assemble your floating dock’s foundation pieces.
Smaller docks can be built upside down as they are easy to flip over. However, bigger docks will require being built right side up as it can be too challenging to flip them over once they have been assembled.
Once you are happy with the layout of your floating dock, you can start by securing all the pieces together with screws and brackets. Continually check that your dock frame is level and square while connecting all the pieces.
When you have secured the bottom piece of your dock, you can move it into the water where you would like it to be. Once you’ve reached the correct position, you can install the dock flooring boards. When adding the anchors, make sure to leave some slack on the chains to accommodate any waves.
Now you can enjoy your lovely self-built floating dock!
.


