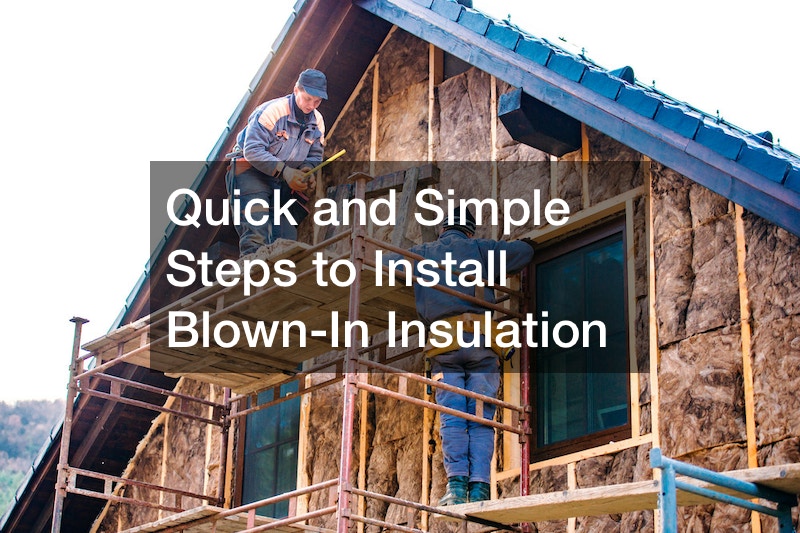

Insulation is a useful supplement to add to your Bat and Roll insulation to prevent air gaps in your home, particularly the attic, so your home can be more energy efficient. You can install blown in insulation yourself in a few easy steps, just be sure to take proper safety measures.
To start, you will have to rent a machine and determine the type of material you will need. This will depend on the typical climate of where you live, thus how much heat flow resistance your home requires.
You will also have to calculate the square footage of the area you are applying the insulation, and the package will direct you on how much insulation you will need.
Next, use spray foam to fill in any gaps around piping and other utilities. You may also have to use pipe covers around water pipes and create a barrier around heat flues to protect the insulation from hot pipes. You will also need to install raptor vents to prevent moisture buildup.
Before blowing in your insulation, you will need to put up barriers to prevent it from falling into other areas. Once that is done, follow the instructions on the blow machine and make sure you are using enough insulation to reach the desired height.
The video above goes into far greater detail on choosing your materials, safety procedures, and helpful tips and tricks. Happy insulating!