
Highlights:
-
Refacing cabinets is a faster, cleaner, and more cost-effective alternative to full cabinet replacement.
-
Proper planning, measuring, and organizing tools and materials are essential for a smooth refacing project.
-
Step-by-step preparation—removing doors, sanding, applying veneer, and reattaching hardware—ensures a professional-looking finish.
-
Common mistakes, like skipping sanding or mislabeling doors, can be easily avoided with careful attention.
-
Routine maintenance, such as gentle cleaning, moisture protection, and hardware checks, keeps cabinets looking new for years.
-
Combining refacing with minor kitchen upgrades, like new hardware, lighting, or backsplashes, maximizes visual impact and functionality.
Updating your kitchen doesn’t always mean a full remodel. One of the fastest and most cost-effective ways to refresh your space is by refacing your cabinets. If your kitchen feels outdated or worn, you don’t need to tear everything out. Instead, you can reface cabinets quickly and achieve a fresh, modern look without the hassle of a complete renovation. In this guide, we’ll cover practical DIY tips to help you get your kitchen looking brand new in no time.
What Does “Refacing Cabinets” Really Mean?
Before diving into the process, it’s important to understand what cabinet refacing actually involves. Refacing is not the same as replacing cabinets. Instead, it’s about:
-
Updating cabinet doors and drawer fronts
-
Applying a new veneer or laminate to existing cabinet frames
-
Replacing or updating hardware like knobs and handles
Essentially, refacing gives your kitchen a facelift while keeping the existing structure intact. This makes it faster, cleaner, and usually more affordable than a full cabinet replacement.
Why Choose Cabinet Refacing Over Replacement?
You might wonder why refacing is the better option if you’re aiming for speed. Here are some reasons:
-
Time-saving: Replacing cabinets often requires demolition and can take weeks. Refacing can be done in days.
-
Cost-effective: You avoid buying entirely new cabinets and minimize labor costs.
-
Less mess: No heavy demolition means less dust, debris, and disruption to your home.
-
Eco-friendly: Keeping the original cabinet frames reduces waste, making it a greener option.
Because of its combination of affordability, speed, and impact, a kitchen makeover through cabinet refacing is widely recognized as one of the home renovations with best ROI. Refacing is a win-win for homeowners who want a fast transformation without the headache of a full remodel.
How Do You Know If Your Cabinets Can Be Refaced?
Not all cabinets are suitable for refacing. Before you start, inspect your kitchen for these key points:
-
Structural integrity: Make sure the cabinet boxes are sturdy and not warped.
-
Door alignment: Check that doors are square and hang evenly.
-
Material compatibility: Wood cabinets are easier to reface than particleboard or laminate surfaces that are damaged.
If your cabinets pass these checks, you’re good to go. If not, a replacement might be necessary for durability.
What Tools and Materials Do You Need?
Having the right tools and materials ready is crucial for a quick and smooth process. Here’s a checklist:
-
Measuring tape and level
-
Screwdrivers or drill
-
Sandpaper or a sander
-
Veneer or laminate sheets
-
New cabinet doors and drawer fronts
-
Wood glue or contact cement
-
Cabinet hardware (knobs, handles, hinges)
-
Painter’s tape and cleaning cloths
Having everything organized beforehand will save time and prevent unnecessary delays.
How to Reface Cabinets Quickly: Step-by-Step Tips
Now comes the fun part! Refacing cabinets can feel like a big project, but with a clear plan and some preparation, it can be done efficiently and look professional. Here’s a detailed step-by-step guide to help you tackle it:
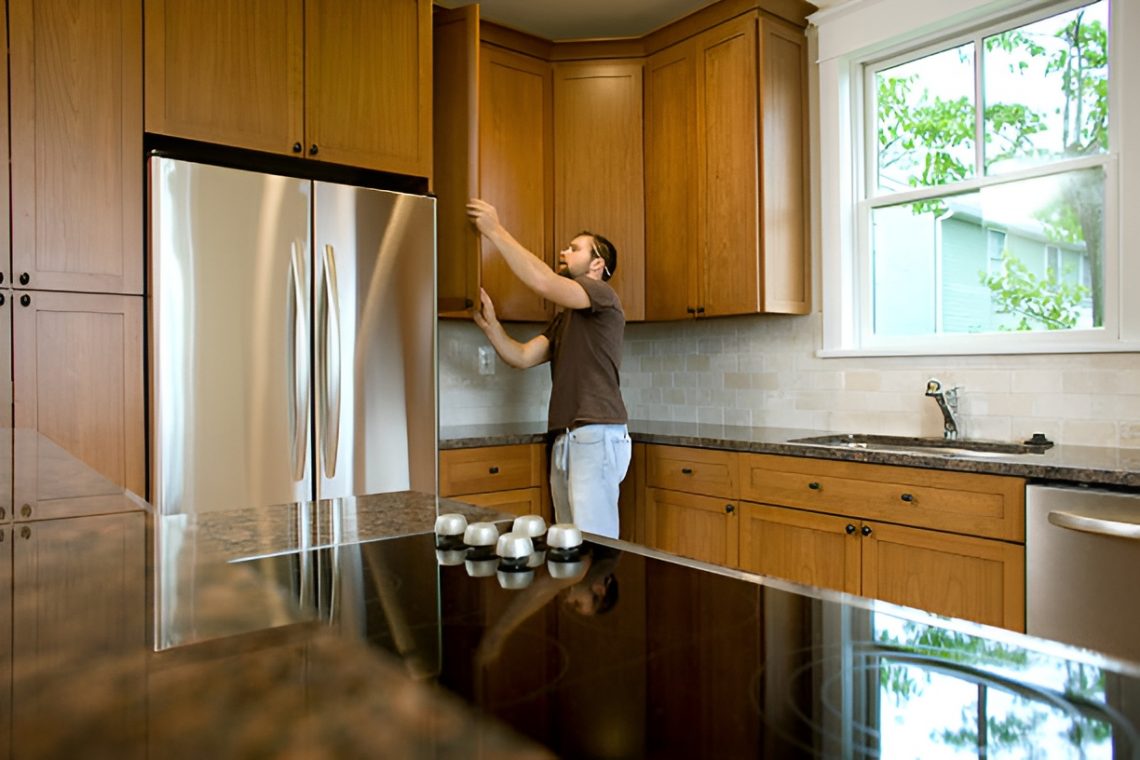
Step 1: Remove Doors and Hardware
-
Carefully remove all cabinet doors, drawer fronts, and any hardware such as knobs, handles, and hinges.
-
Label each piece with painter’s tape or sticky notes so you know exactly where it belongs when reassembling. This prevents mix-ups and saves time during installation.
-
Place all screws, hinges, and small parts in a container or zip-lock bag to avoid losing them.
-
Removing the doors and hardware first allows you to work on the frames more easily, ensuring a smooth sanding and application of veneer or laminate later.
Step 2: Clean and Sand the Surfaces
-
Wipe down all cabinet frames thoroughly with a mild cleaner to remove grease, dust, and grime. A clean surface ensures proper adhesion of your new material.
-
Lightly sand the cabinet frames using fine-grit sandpaper. Focus on edges, corners, and any areas where old finishes might be uneven.
-
Sanding creates a smooth, slightly roughened surface that helps glue or adhesive bond more effectively.
-
Pro tip: Avoid heavy sanding or deep scratches; light, even pressure is enough. Use a sanding block for flat surfaces and folded sandpaper for corners.
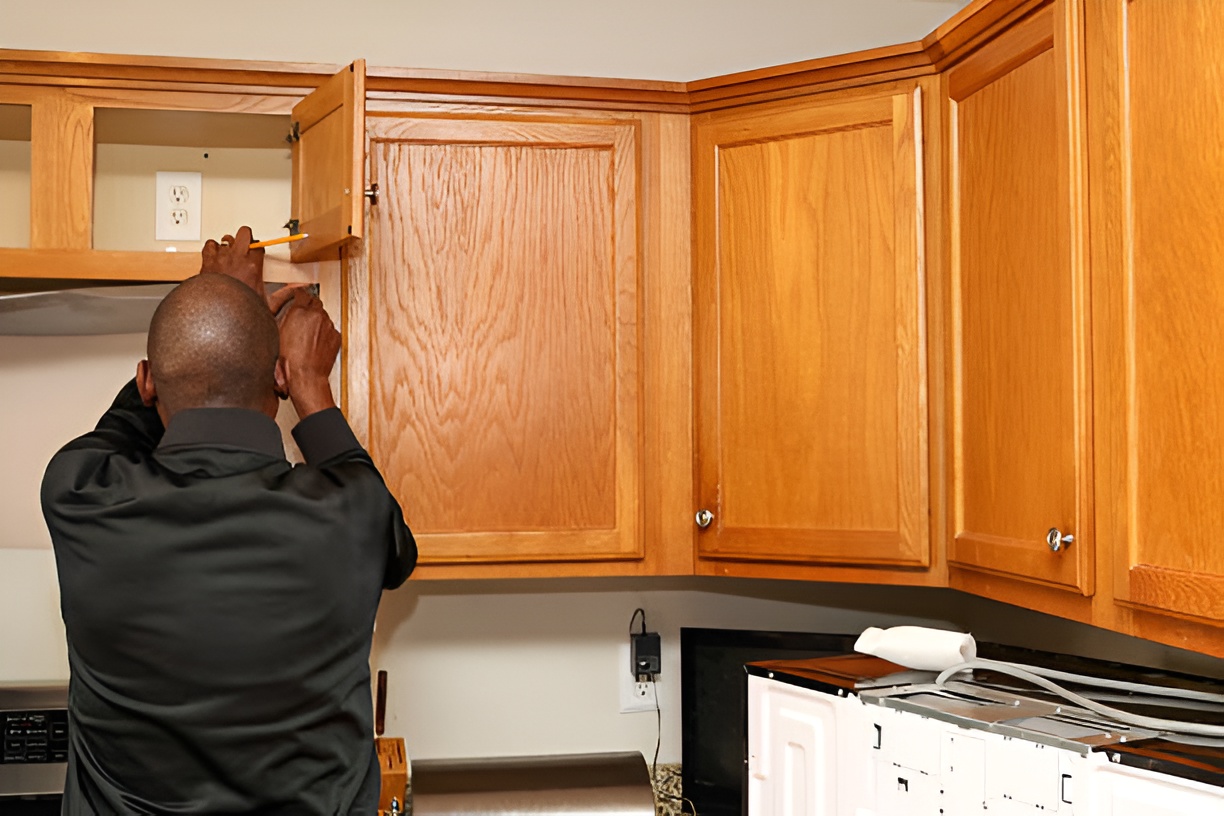
Step 3: Measure and Cut Veneer or Laminate
-
Measure each cabinet face and drawer front carefully. Double-check measurements to prevent mistakes that could waste material.
-
Use a straightedge and pencil to mark precise cutting lines on your veneer or laminate sheets.
-
Cut each piece slightly larger than the cabinet face; you can trim excess after application for a perfect fit.
-
Accurate measurements are key to a professional finish and prevent unsightly gaps or overlaps. Consider keeping a small scrap piece for test fitting or trial placement.
Step 4: Apply Veneer or Laminate
-
Apply wood glue or contact cement according to the manufacturer’s instructions. Spread evenly to avoid lumps or uneven bonding.
-
Press the veneer firmly onto the cabinet frame, starting from one edge and smoothing toward the opposite side to remove air bubbles.
-
Use clamps or weighted objects to keep the veneer flat and ensure strong adhesion while the glue sets.
-
Tip: Start with the largest surfaces first, then move to smaller edges, corners, or trims. Work systematically to avoid missing any areas.
Step 5: Reattach Doors and Drawer Fronts
-
Using your labels as a guide, reattach doors and drawer fronts. Align each door carefully so hinges match the original placement.
-
Reinstall knobs, handles, and other hardware. Check that doors open and close smoothly.
-
Make small adjustments if necessary—uneven doors or misaligned hardware can detract from the final polished look.
-
This is the stage where your kitchen begins to feel transformed, as the visual impact of the new finish becomes apparent.
Step 6: Finishing Touches
-
Touch up edges with paint, stain, or a coordinating finish if needed to cover gaps or worn spots.
-
Clean the entire surface one final time to remove dust, fingerprints, or smudges.
-
Stand back and admire your work! Even small details, like aligned handles or well-finished edges, dramatically elevate the overall look of your kitchen.
-
Consider adding a small accent, such as under-cabinet lighting or decorative molding, to highlight your newly refreshed surfaces.
Quick Tips to Save Time on Your Cabinet Refacing Project
-
Work in sections: Tackle one cabinet at a time instead of doing everything at once.
-
Use peel-and-stick veneers: These can save hours compared to traditional glue methods.
-
Invest in pre-made doors: Custom doors can take weeks, but ready-made options cut down the timeline.
-
Enlist a helper: Having an extra pair of hands speeds up sanding, measuring, and applying veneer.
With these shortcuts, you can complete the project in a fraction of the time.
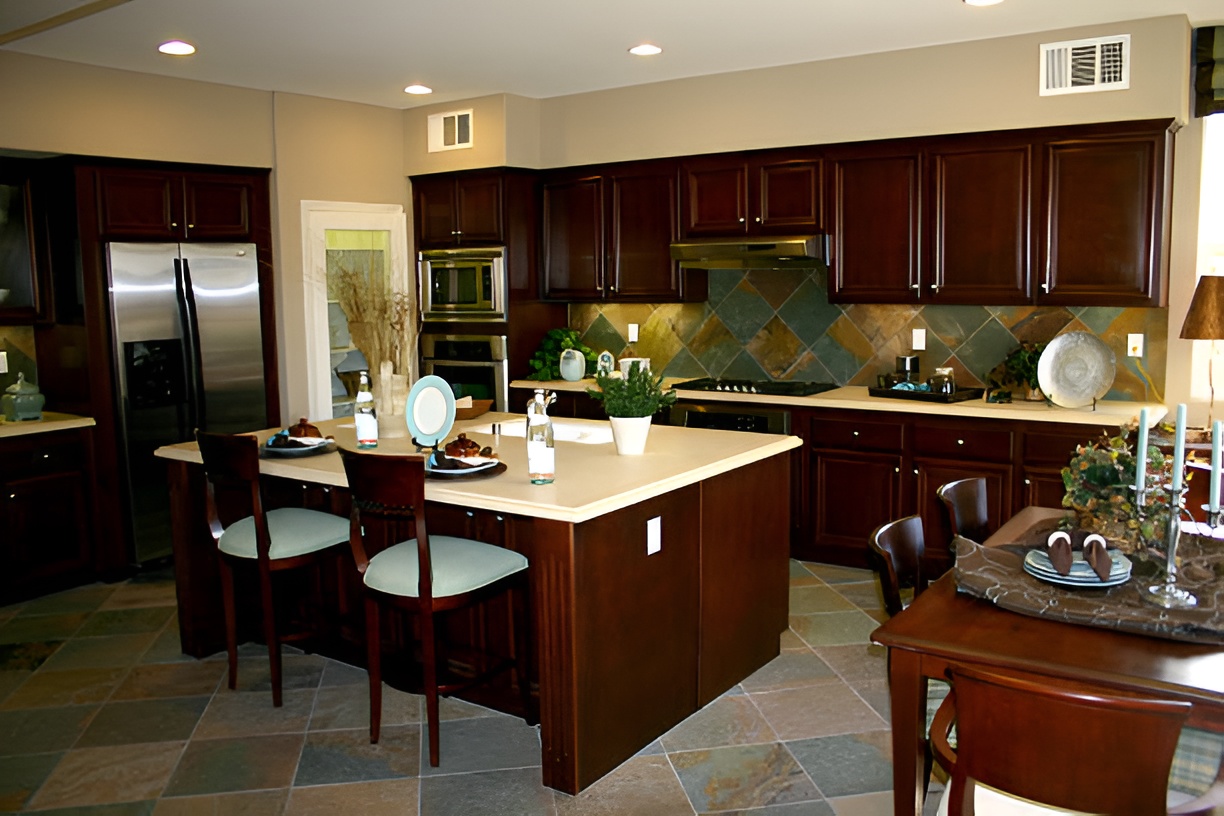
How Can You Make Your Kitchen Look Modern Instantly?
Refacing is not just about function; it’s about style. Here’s how to give your kitchen a modern edge quickly:
-
Choose sleek, flat-panel doors for a minimalist look
-
Opt for light colors or white finishes to brighten the space
-
Update hardware to matte black, brushed nickel, or gold tones
-
Consider glass inserts for a contemporary touch
-
Add under-cabinet lighting to highlight your new surfaces
Even small updates can drastically improve your kitchen’s overall vibe.
What Are Common Mistakes to Avoid When Refacing Cabinets?
Even when working quickly, it’s important to avoid common pitfalls:
-
Skipping the sanding step, which can cause poor adhesion
-
Mislabeling doors and drawers, leading to frustrating assembly
-
Using low-quality veneer or laminate that peels or bubbles
-
Ignoring cabinet frame repairs, which can affect alignment
-
Rushing measurements, resulting in ill-fitting surfaces
Taking a few extra minutes to prevent these mistakes saves headaches later.
Can You Reface Cabinets Yourself, or Should You Hire a Pro?
DIY cabinet refacing is very doable for motivated homeowners. However, consider a professional if:
-
You have a very large kitchen and limited time
-
Cabinets are significantly damaged or uneven
-
You want a completely custom look with high-end finishes
For most standard kitchens, following the steps above allows you to achieve excellent results without hiring expensive contractors.
How to Maintain Refinished Cabinets
After refacing, proper care will help your cabinets stay looking fresh and beautiful for years:
-
Clean regularly using a gentle, non-abrasive cleaner or a damp microfiber cloth. Avoid harsh chemicals that could damage the veneer or finish.
-
Protect from moisture—wipe up spills immediately and avoid excessive water, especially on veneer edges and seams, to prevent swelling or warping.
-
Check and tighten hardware periodically. Hinges, knobs, and handles may loosen over time, so a quick adjustment keeps doors aligned and functioning smoothly.
-
Touch up scratches or nicks as needed. A small dab of stain, paint, or veneer repair kit can help maintain a flawless appearance.
-
Avoid heavy impact or sharp objects on the surfaces, as veneers and laminate can be dented or chipped if treated roughly.
Overall, maintenance is minimal compared to the effort, cost, and mess you save by refacing instead of replacing your cabinets. A little routine care goes a long way in keeping your kitchen looking brand new.
How Long Does It Really Take to Reface Cabinets?
Timeline varies based on kitchen size and your experience, but here’s a rough estimate for a DIY project:
-
Small kitchen (up to 10 cabinets): 2–3 days
-
Medium kitchen (11–20 cabinets): 3–5 days
-
Large kitchen (20+ cabinets): 5–7 days
Working efficiently, measuring accurately, and using peel-and-stick materials can speed this up even more.
How Much Does Refacing Cabinets Cost?
Refacing is generally more affordable than replacement. Average costs include:
-
Materials: $100–$500 for veneer, laminate, and glue
-
New doors/drawer fronts: $50–$200 per door or drawer
-
Hardware: $3–$15 per handle or knob
For a standard kitchen, expect to spend around $1,000–$3,000, compared to $5,000–$10,000 for a full cabinet replacement.
Can You Mix DIY with Professional Help?
Yes! A hybrid approach works well:
-
DIY the veneer or laminate application
-
Hire a professional to cut custom doors or adjust hinges
-
Get expert advice on hardware placement and alignment
This approach balances speed, cost, and quality.
What Are the Benefits of a Fast Kitchen Makeover?
Refacing cabinets quickly has benefits beyond aesthetics:
-
Increased home value
-
Improved kitchen functionality
-
Enhanced satisfaction with your space
-
Less stress and disruption compared to full renovations
A quick makeover can make your kitchen feel brand new without weeks of hassle.
How to Plan Your Cabinet Refacing Project Efficiently
Efficient planning ensures your project goes smoothly:
-
Take detailed measurements before buying materials
-
Set aside dedicated workdays to avoid interruptions
-
Organize tools, materials, and labels before starting
-
Prepare a cleaning area to reduce mess
A well-planned project reduces errors and shortens overall time.
Can Refacing Cabinets Be Eco-Friendly?
Absolutely. By keeping your existing cabinet frames, you reduce:
-
Waste sent to landfills
-
Demand for new raw materials
-
Energy used in manufacturing and transportation
You can also incorporate sustainable building materials for homes, such as FSC-certified veneers, reclaimed wood panels, or low-VOC finishes, to make your kitchen makeover greener and healthier for your family.
How to Make Your Cabinets Look Custom Without the Price
Even on a budget, you can achieve a high-end look:
-
Mix and match door styles for visual interest
-
Add crown molding or trim for a polished finish
-
Paint frames and doors in complementary colors
-
Use high-quality hardware for a designer touch
Small design tweaks elevate your space instantly.
How to Troubleshoot Common Cabinet Refacing Problems
Even with careful planning, issues can pop up during a cabinet refacing project. Here’s how to tackle the most common problems:
-
Veneer bubbles: Small air pockets can form under the veneer. Use a sharp pin or needle to gently puncture the bubble, then press the veneer flat. For larger bubbles, lift the affected area, apply a little extra adhesive, and clamp until dry.
-
Uneven doors: Doors may hang slightly off after reinstallation. Adjust hinges carefully, or add thin shims behind them to achieve perfect alignment. Check that doors open and close smoothly without rubbing on the frame.
-
Peeling edges: If veneer edges lift or peel, apply a small amount of glue underneath and press down firmly. Clamp or place a weighted object on top until fully set to ensure a strong bond.
-
Scratches or marks: Minor surface imperfections are common. Use a matching stain, paint, or touch-up pen to blend scratches. For deeper marks, lightly sand the area before refinishing for a seamless repair.
-
Misaligned hardware: Handles or knobs that feel loose or crooked can throw off the cabinet’s look. Double-check your labels and screws, and make adjustments as needed.
Knowing these tips ahead of time can save frustration and keep your project on track, ensuring a professional-looking finish even if small problems arise.
How to Combine Refacing with Other Kitchen Upgrades
Maximize your makeover by combining cabinet refacing with:
-
Repainting walls for a cohesive look
-
Installing a new backsplash
-
Updating countertops for a modern touch
-
Adding better lighting to highlight new surfaces
Even minor changes around refaced cabinets make your kitchen feel brand new.
How to Enjoy Your Refaced Cabinets
After weeks of preparation and work, it’s time to enjoy your kitchen. You’ll notice:
-
A brighter, more modern space
-
Easier cleaning with smooth, updated surfaces
-
Satisfaction of completing a DIY project efficiently
-
A sense of accomplishment without breaking the bank
Refacing cabinets quickly allows you to enjoy a fresh kitchen without the stress of a full renovation.
Final Thoughts
Refacing cabinets is a smart, time-saving way to transform your kitchen. By planning ahead, organizing materials, and following these DIY tips, you can achieve a stylish, functional kitchen in just a few days. Whether you’re updating the look for resale value or personal enjoyment, refacing is an affordable, eco-friendly, and fast solution that delivers impressive results.
Take the leap, roll up your sleeves, and give your kitchen a makeover you’ll love—all without the long timeline and high cost of a full remodel.